1. 引言
不知不觉,我的博客已经在风雨飘摇中运行超过一年时间了,回想这一年的博客维护以及魔改经历,我觉得有必要详细记录一下博客搭建的过程,以防我不小心搞崩了博客…

2. 环境部署工作
2.1 安装Node.js
1.进入官网选择对应的系统下载:
官网:https://nodejs.org/en/download/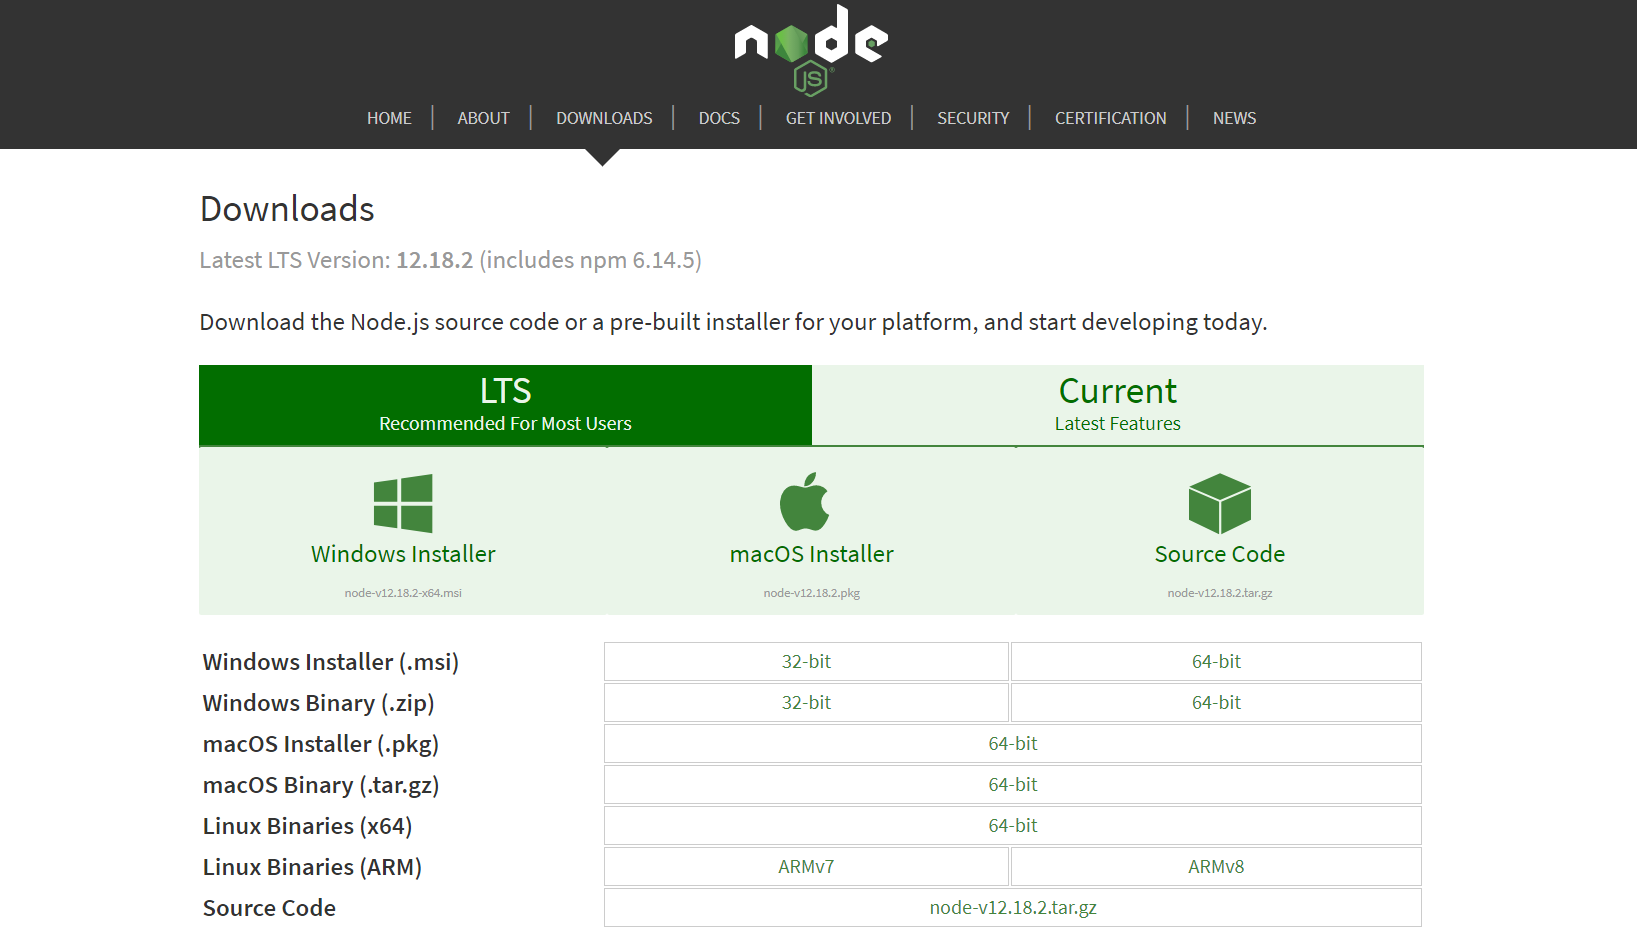
2.安装
选好路径,完成安装
3.检查
打开cmd或者powershell,输入:
1 | node -v |
显示版本号,即安装无误
npm为Node.js的包管理工具
2.2 安装Git
1.进入官网下载
官网:https://git-scm.com/downloads
2.安装
选好路径,完成安装
3.检查
打开git bash,输入:
1 | git --version |

2.3 注册Github账号
1.Github官网https://github.com,注册账号
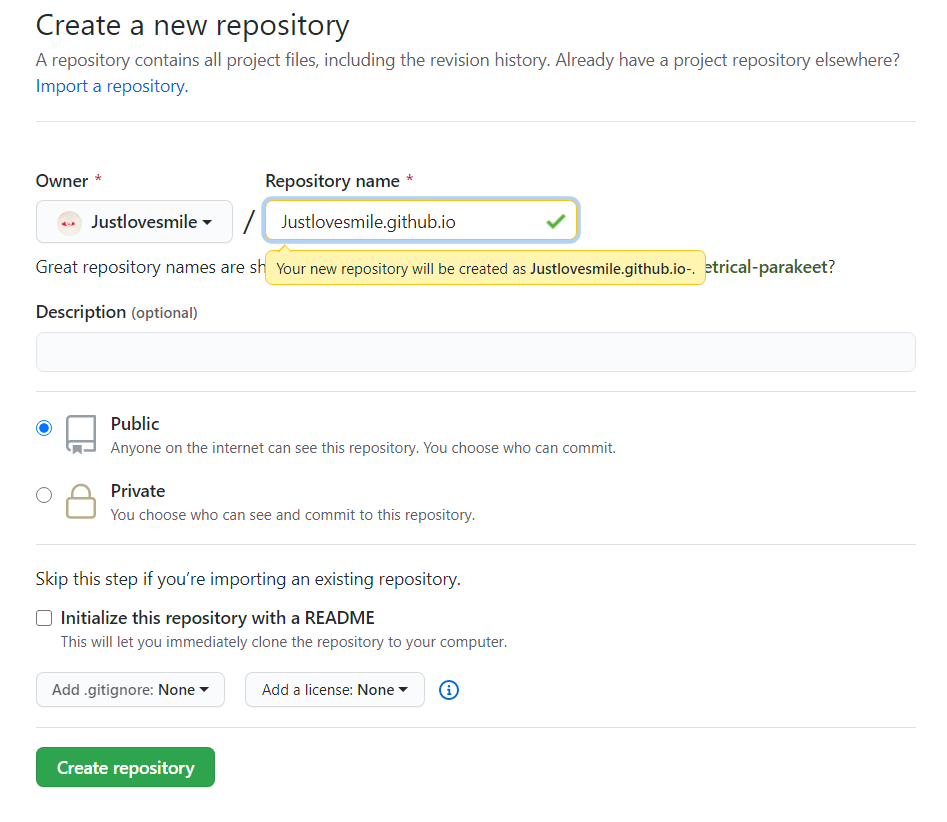
2.新建项目

项目名字为你的昵称.github.io,例如:
1 | //我的昵称是Justlovesmile |
3.代码库设置
创建好之后,保存<>code内的SSH,即:
1 | git@github.com:XXXXXXXXX/XXXXXXXXX.github.io.git |
点击右侧的Settings

向下找到Gihub pages,点击Launch automatic page generator,Github将会自动替你创建出一个pages的页面。 如果配置没有问题,大约几分钟之后,yourname.github.io这个网址就可以正常访问了
5.推荐开启强制使用https
2.4 安装Hexo
1.在合适的位置,如E:/hexo,安装hexo-cli,输入:
1 | cd /e/hexo/ |

再安装hexo
1 | npm install hexo --save |
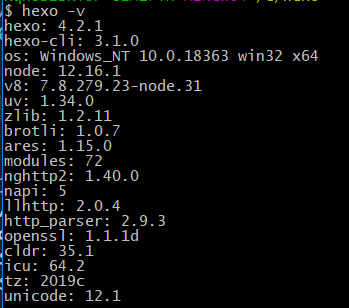
安装完成后,检查
1 | hexo -v |
2.初始化一个文件夹:
1 | cd /e/hexo/ |
3.生成Hexo页面:
1 | hexo g |
4.启动服务:
1 | hexo s |
默认是localhost:4000,打开浏览器输入即可
2.5 推送到Github
1.配置个人信息
1 | git config --global user.name "XXXX" |
2.生成密钥
1 | ssh-keygen -t rsa -C "XXXXXXXXX@XXX.com" |
3.查看id_rsa.pub文件,并整个复制
1 | cat ~/.ssh/id_rsa.pub |
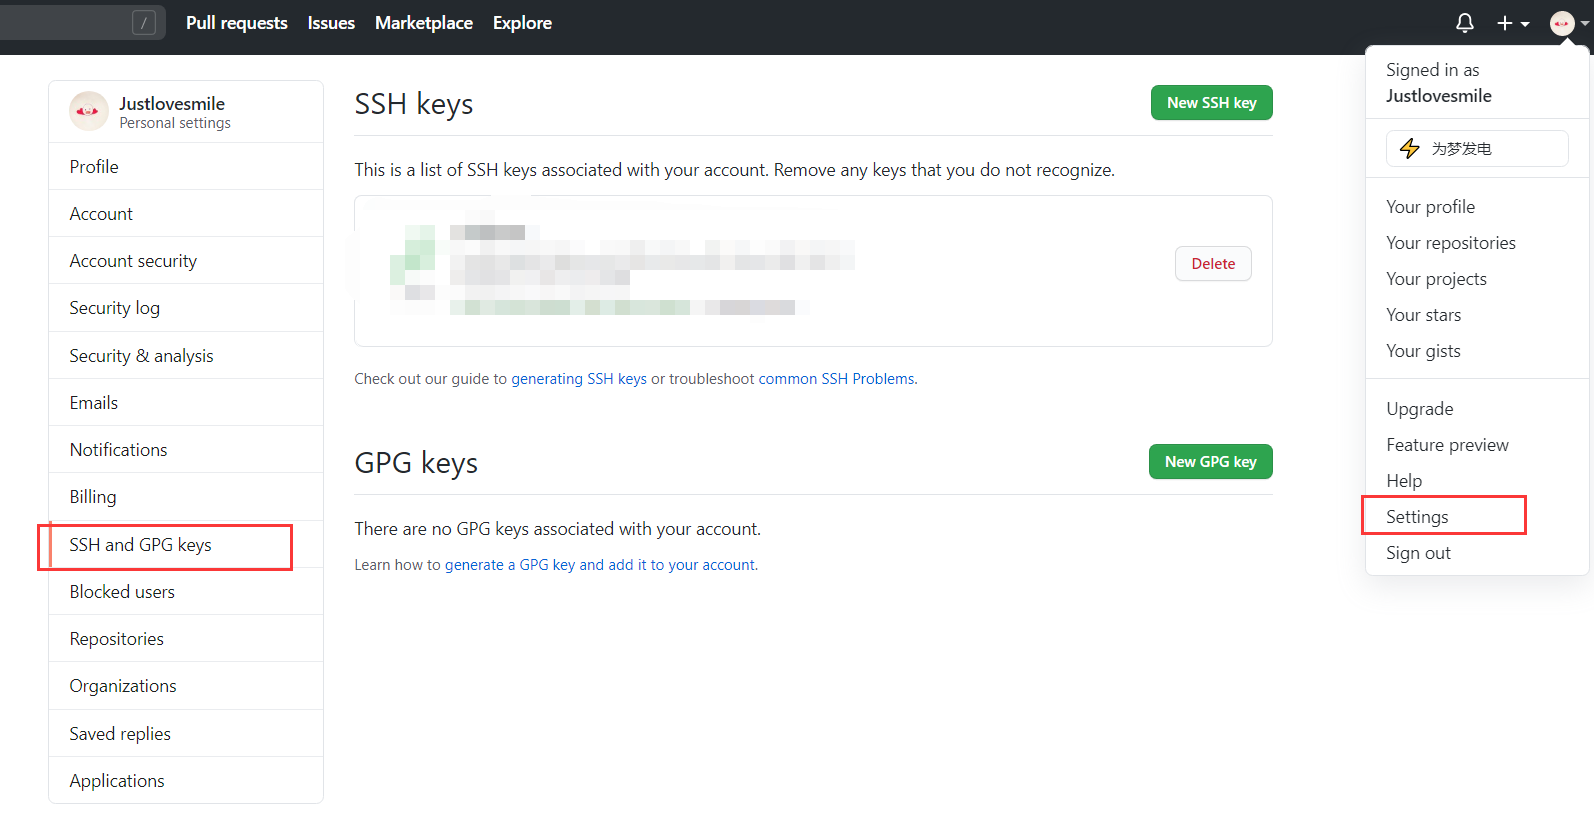
4.然后再在Github中添加ssh key
5.修改hexo根目录下的文件_config.yml中的deploy,添加之前保存的ssh:
1 | deploy: |
6.上传到github:
1 | hexo d -g |
如果没有hexo-deployer-git,安装
1 | npm install hexo-deployer-git --save |
7.查看blog,https://username.github.io
3. Hexo基础
3.1 写博客
1.新建文章
1 | hexo new post '我的第一篇文章' |
2.hexo自动生成一个md文件,修改md内容
头部如:
1 |
|
3.在头部下面即可写文章内容
markdown,支持html和其自带的语法。Markdown是一种可以使用普通文本编辑器编写的标记语言,通过简单的标记语法,它可以使普通文本内容具有一定的格式。
3.2 新建页面
1 | hexo new page "music" |
会在source文件夹中生成music文件夹,其内的index.md为页面内容
3.3 常用基本命令
1 | hexo new "文章" |
1 |
|
4. Hexo进阶
4.1 推荐编辑器
方便后续魔改内容
- VSCode https://code.visualstudio.com/
- Sublime Text http://www.sublimetext.com/
4.2 更换主题
1.因为自带的主题并不好看,所以可以更换主题,常见主题的很多,例如butterfly
1 | cd /e/hexo/ |
2.修改hexo根目录下的_config.yml中的 theme: landscape改成theme: butterfly ,(注意冒号:后面有一个空格)
4.3 注册Coding账号
1.由于国内访问github的速度较慢,因此可以通过双部署同时部署到Codinghttps://coding.net/,同样注册账号,新建项目,项目名随意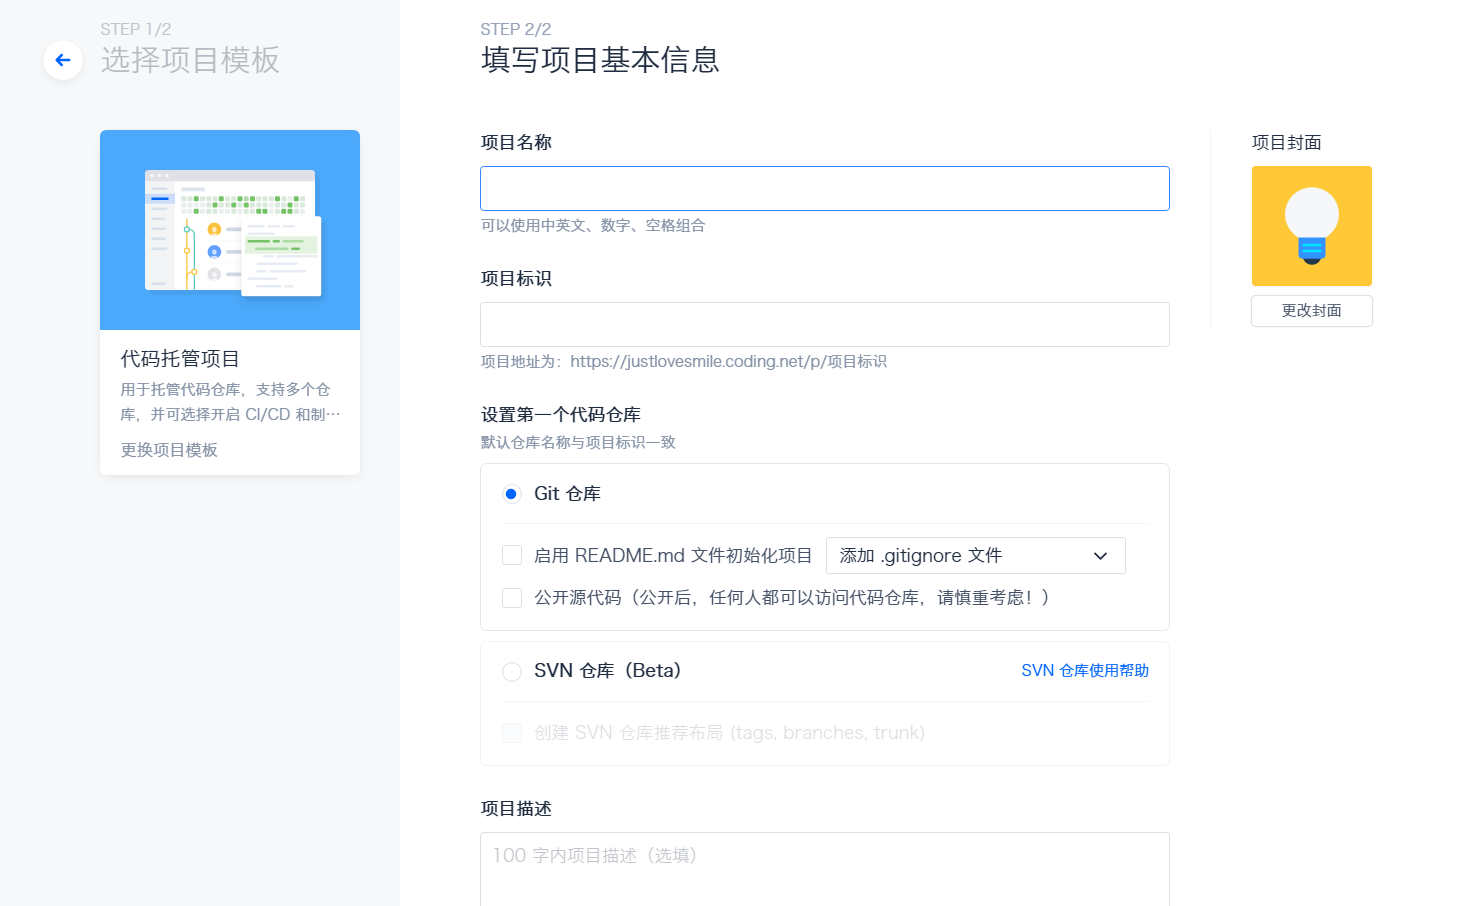
2.创建好后,同样记住SSH
3.修改hexo根目录下的文件_config.yml中的deploy,添加之前保存的ssh:
例如我的:
1 | deploy: |
4.在Coding中保存你的密钥,方法同Github
1 | cat ~/.ssh/id_rsa.pub |
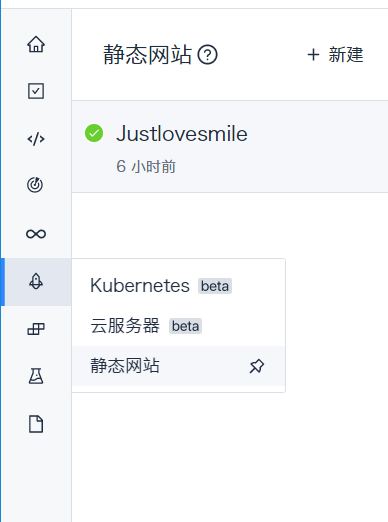
5.下次hexo d -g部署后,开启静态网站,然后可以通过其提供的//xxxxxxx.coding-pages.com访问。(第一次记得点,立即部署)
6.推荐开启强制使用https
4.4 注册Gitee账号
1.除了Coding外,网内访问速度较快的还有码云https://gitee.com/,同样注册账号,新建项目yourname
2.创建好后,同样记住SSH
3.修改hexo根目录下的文件_config.yml中的deploy,添加之前保存的ssh:
例如我的:
1 | deploy: |
4.在Gitee中保存你的密钥,方法同Github
1 | cat ~/.ssh/id_rsa.pub |
5.开启GiteePages服务,Gitee只能免费使用gitee.io域名,其他的域名要收费,并且免费版每次部署后,需要手动点击更新来更新网站内容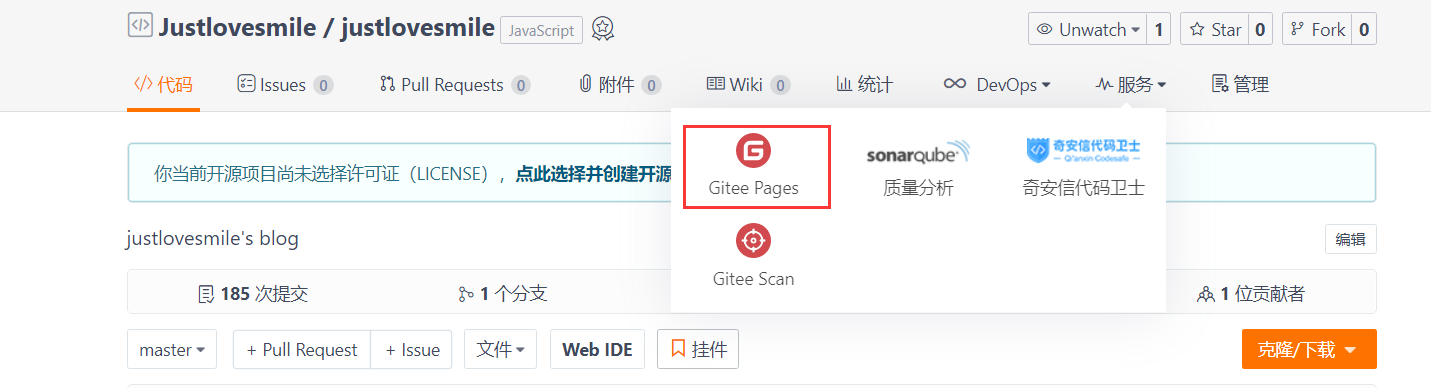
5.推荐开启强制使用https
4.5 绑定域名
1.在阿里云https://wanwang.aliyun.com/购买自己喜欢的域名
2.在阿里云控制台找到云解析DNS

找到自己购买的域名,点击解析设置
添加记录
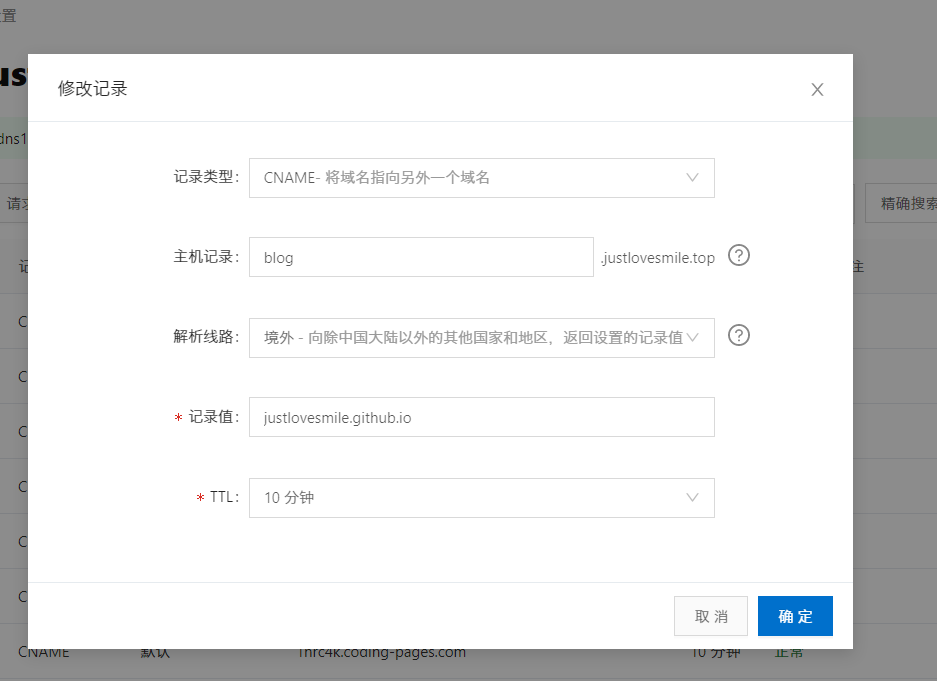
3.如果多部署了,可以设置多条

一条给github.io,一条给coding-pages.com等等
4.再返回到对应的部署页面,修改解析域名
- Github的在仓库的
Settings--Github_Pages--Custon_domain - Coding的
静态网站-设置-自定义域名
4.6 安装插件
1.安装hexo插件
1 | npm install hexo-generator-sitemap --save |
2.在hexo根目录下的文件_config.yml中添加
1 | Plugins: |
3.更多插件见Hexo插件推荐
4.7 添加robots.txt
1.在hexo根目录下的source文件夹中,创建一个名为robots.txt的文件
2.内容为
1 | User-agent: * |
4.8 创建百度站长账号
1.进入百度站长https://ziyuan.baidu.com/,注册账号,登录
2.点击用户中心-站点管理-添加网站
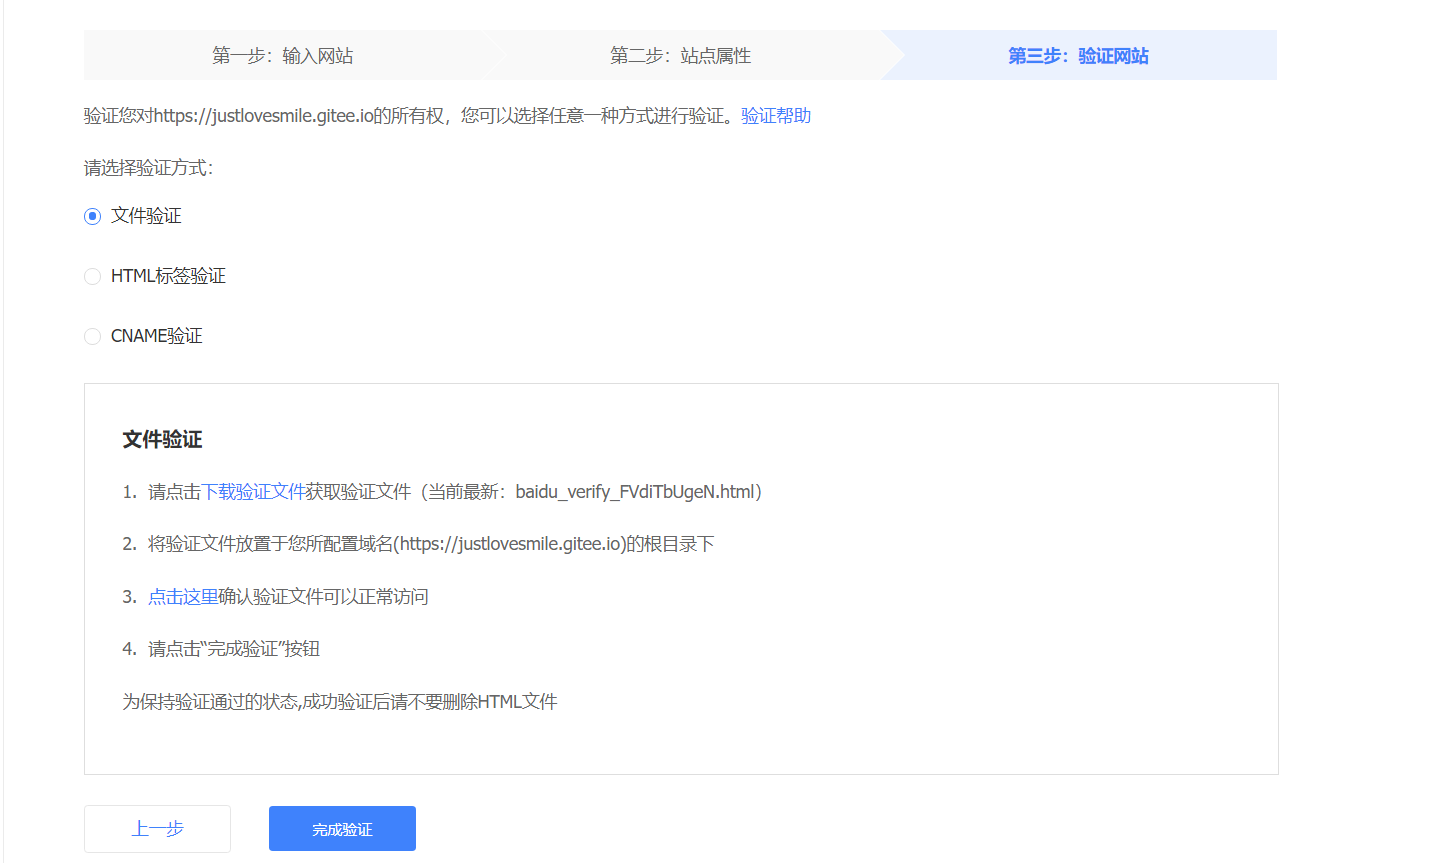
3.验证
(1)若选择文件验证,则下载文件到根目录下的source文件夹中,并在文件内容最上面添加三行
1 |
|
(2)若选择HTML标签验证,需要找到主题下的head文件位置,添加其给的html代码,(一般在/themes/xxxxxx/layout/**/head.pug(ejs)内)
(3)若选择CNAME验证,操作和绑定域名操作一样,看其给的说明即可
4.推送你的网址,使之更快收录
点击左侧资源提交-普通收录可以选择三种方式提交网址
4.9 创建百度/谷歌统计账号
1.现在绝大部分国内主题集成了百度统计https://tongji.baidu.com/和谷歌统计功能,如果没有可以自行在head文件内添加,和上面的html标签验证相似
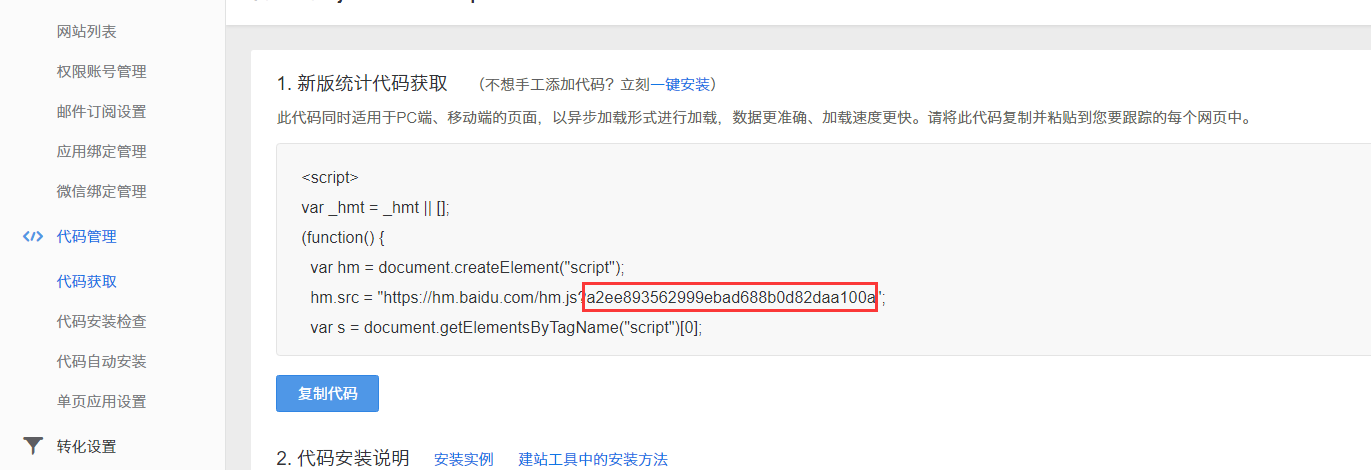
1 | <script> |
其中问号?之后的一串数字为你的统计id
1 | hm.src = "https://hm.baidu.com/hm.js?a2ee893562999ebad688b0d82daa100a"; |
2.谷歌同理,不过需要翻墙才能进去
4.10 CDN图床
1.博客中往往会使用到很多图片,如果全部都保存在博客中,那肯定是不行的,推荐使用Github+Jsdelivr+PicGo搭建免费图床
2.在Github中创建一个新仓库CDN,名字随意
3.生成Token
在右上角个人设置处(不是仓库设置)依次选择Settings-Developer settings-Personal access tokens-Generate new token,勾选repo,然后点击Generate token生成一个Token
注意这个Token只会显示一次,自己先保存下来,或者等后面配置好PicGo后再关闭此网页
4.配置PicGo,使用jsDelivr的CDN
(1)下载PicGo https://github.com/Molunerfinn/picgo/releases
(2)设置仓库名
(3)设置分支名
(4)设置Token
(5)指定存储路径
(6)设定自定义域名

1 |
|
5. 主题配置总结
5.1 Ayer主题修改–适用ejs类型的主题
5.1.1 随机博客封面
5.1.2 添加二级菜单
5.1.3 添加公告板
5.2 Butterfly主题–适用pug类型的主题
- 看Butterfly作者的教程https://butterfly.js.org/
- 看小康博客https://www.antmoe.com/posts/a811d614/index.html
6. 主题魔改
6.1 页脚养鱼🐟
- 摘取自木槿:Hexo大结局
1.在\themes\butterfly\layout\includes\footer.pug最后添加这句话
1 | #jsi-flying-fish-container.container |
2.然后添加js文件,如果是butterfly在主题配置的inject处添加即可
1 | <script data-pjax src="https://cdn.jsdelivr.net/gh/Justlovesmile/CDN@latest/js/fish.js"></script> |
3.修改样式,butterfly在themes\butterfly\source\css\_layout\footer.styl,这一部分对应修改
1 | #footer |
6.2 valine评论
6.3 博客文章加密
添加博客加密: 文章添加密码功能
6.4 打字机效果
Type.js打字机效果: 添加打字机效果
6.5 图标,动态图标,网页运行时间,全站黑白,鼠标点击特效,网页动态标题,樱花,音效
博客中能用到的代码: 关于font awesome图标字体库,使用动态图标,添加网页运行时间,全站变黑白,鼠标点击特效,网页标题的动态效果,网页樱花特效,鼠标触动音乐特效
6.6 旋转小人,每日诗句
博客中能用到的代码(二): 添加旋转小人和每日诗句
6.7 展示pdf
6.8 插件汇总
6.9 前端禁止右键,F12,F5
- 在文件中添加以下代码
1 | <script> |
6.10 星空背景
6.11 动态分类条、标签条
6.12 提取图片主题色并修改字体颜色
7. 高级魔改
7.1 Github Calendar
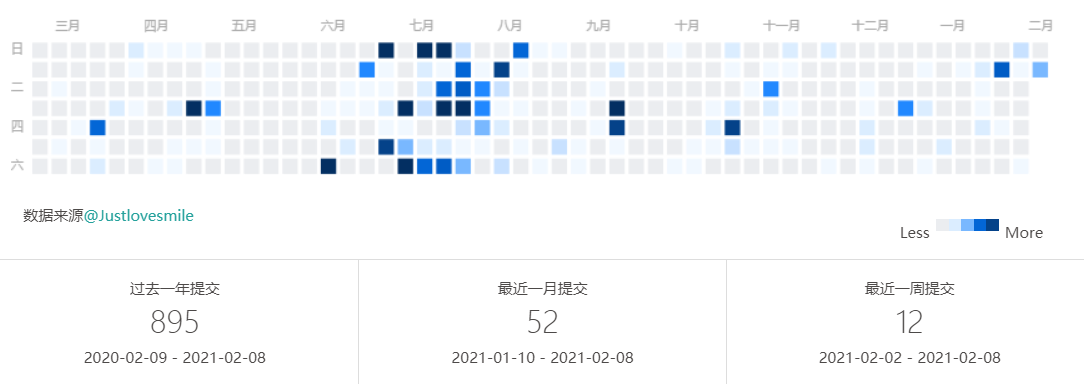
Gitcalendar
教程:基于Butterfly主题(去jquery)的gitcalendar3.0
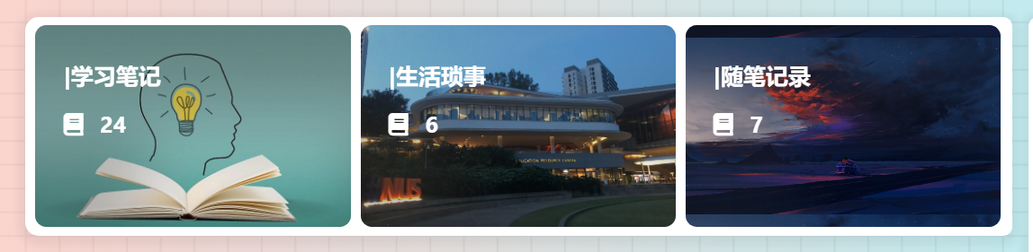
7.2 首页磁贴
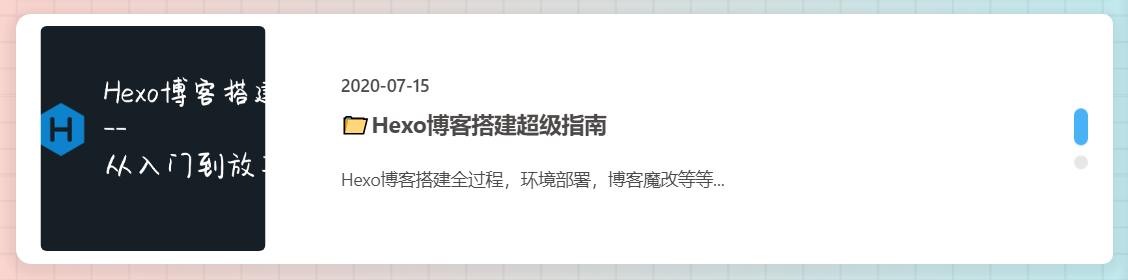
7.3 首页置顶轮播图
7.4 友链朋友圈